
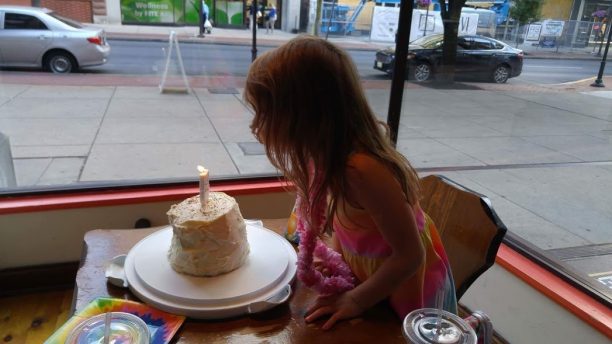
You may recall, four years ago I attempted to make (Spearmint Baby’s) Rainbow Cupcakes for Holdy’s First Birthday. It did not go well. This year, because she is Holdy who loves rainbows and being difficult, Holdy requested a Rainbow Cake for her Fifth Birthday. So here we go again.
This time, I was gifted Wilton’s Easy Layers! 6 Inch Round Cake Pan Set to ease the process a bit.
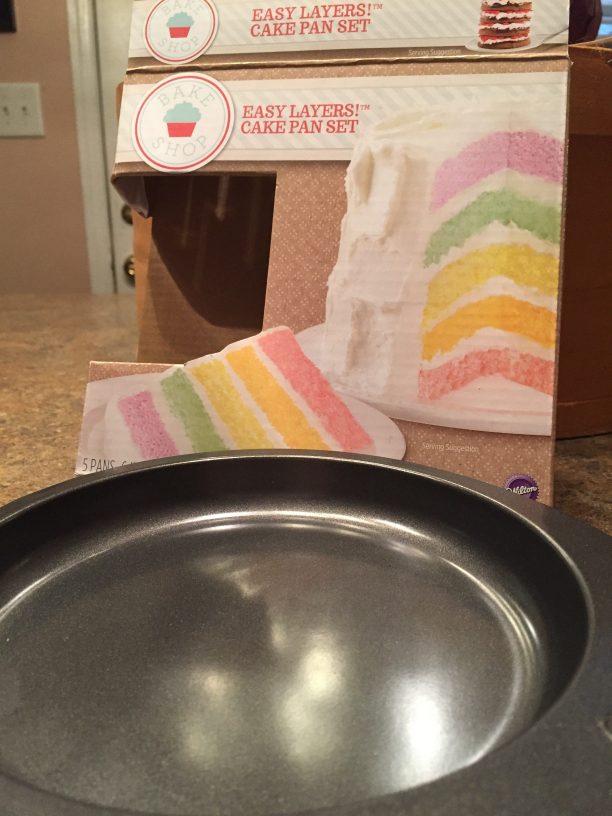
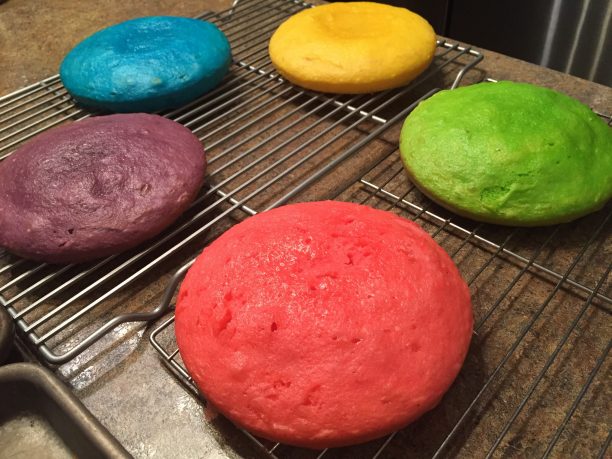
These five smaller pans make one whole cake box. I made a box cake according to the instructions and split the batter “equally” into five different bowls.
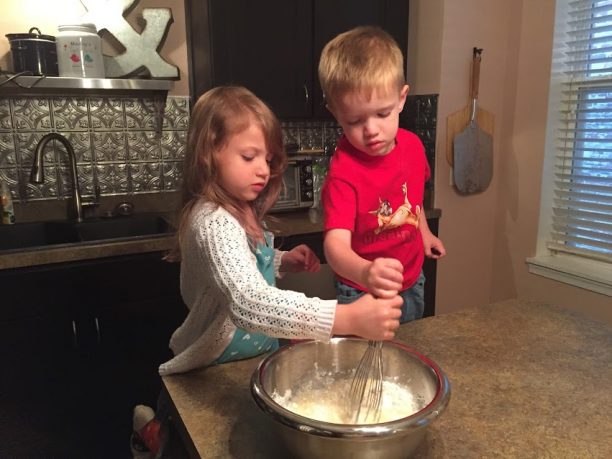

We used a combination of McCormick Neon Food Coloring and Traditional Food Coloring to achieve our desired color combos in each bowl of batter.

I greased each pan with butter and cut circles of wax paper to fit in the bottom of each pan. I then “equally” filled each of the five baking pans with their respective colored batters and baked at 350 degrees.
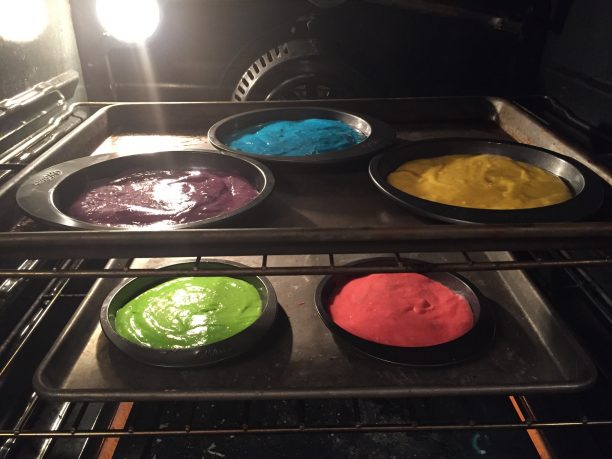
I checked them after 10 minutes and left them in for a total of 15 minutes.
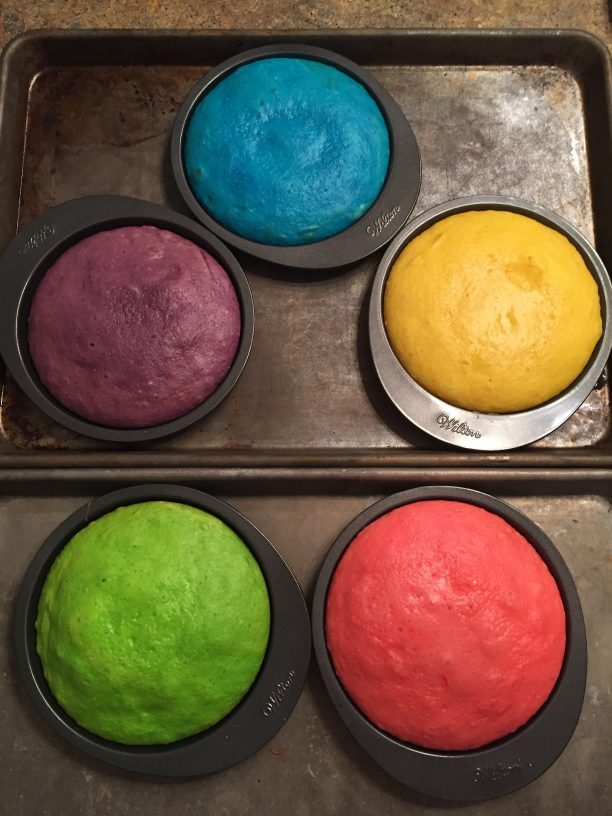
The cakes all came out of the pans really easily and I set them to cool on a wire rack.
I then followed The Bearfoot Baker’s instructions on how to freeze a (layer) cake before frosting it. I wrapped each layer of cake in two layers of plastic wrap, one layer of foil, and placed them in large ziploc bags (two to a bag).
The next day, I thawed the cakes in their wrappings for about 20 minutes. I then leveled the tops of each layer with a serrated knife, cutting off the “dome” to make them flat for stacking.
I stacked the layers on top of each other, with a (big ol’) smear of icing in between each layer.
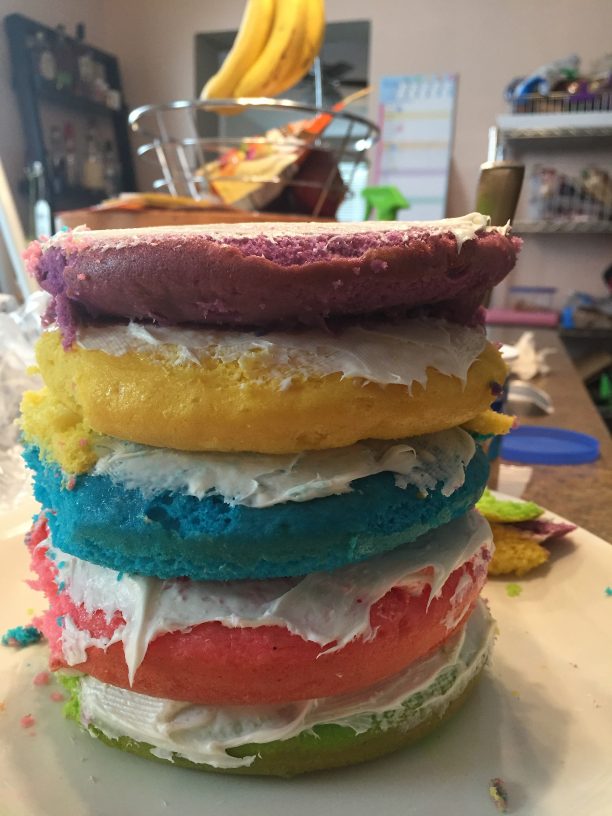
Because the layer pans make the sides rounded off, I also levels the sides with a serrated knife to make the “tower” even.

If you’ll notice, my cake tower is already leaning a bit. Oh well.
You’ll also notice that your cake looks like a hot mess at this point. This is where the Crumb Coat comes in.
Spread a thin layer of icing all over the cake–it’s okay that cake crumbs get smeared in because you’ll be doing the “real” layer of icing later.
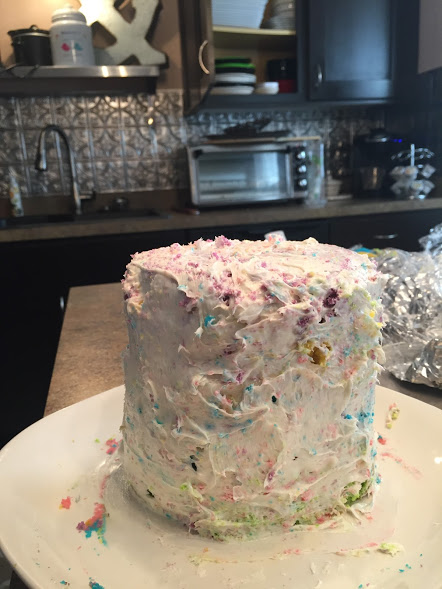
Pop that sucker into the refrigerator for at least 20 minutes to allow the crumb coat to set.
Then take ‘er out and add your icing.
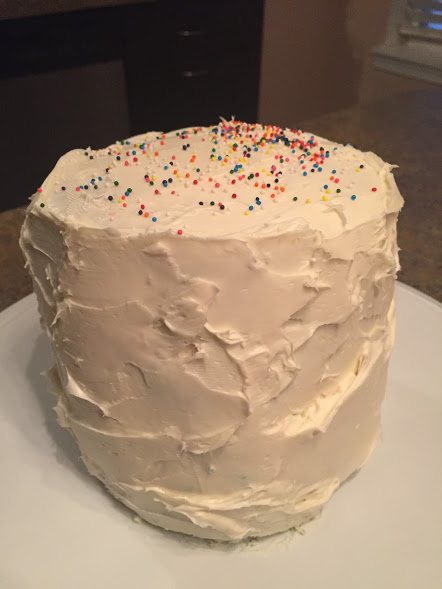
I should note that the humidity and the transportation of my cake took a bit of a toll on the tower and it started to sag slightly on the backside, I guess collapsing on the weight of itself? Possibly I should have smooshed the layers down a bit firmer on top of each other?
So yeah, it looked a little saggy, lol. But it doesn’t matter, because all the glory comes when you cut into that bad boy.
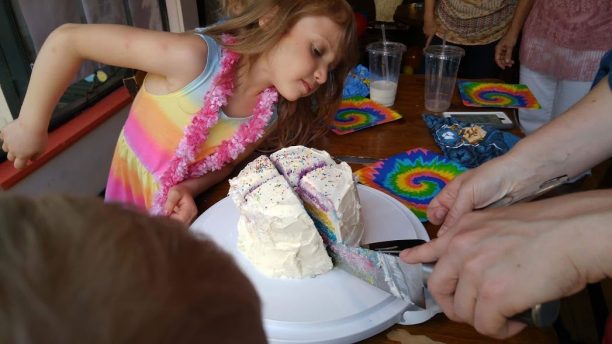
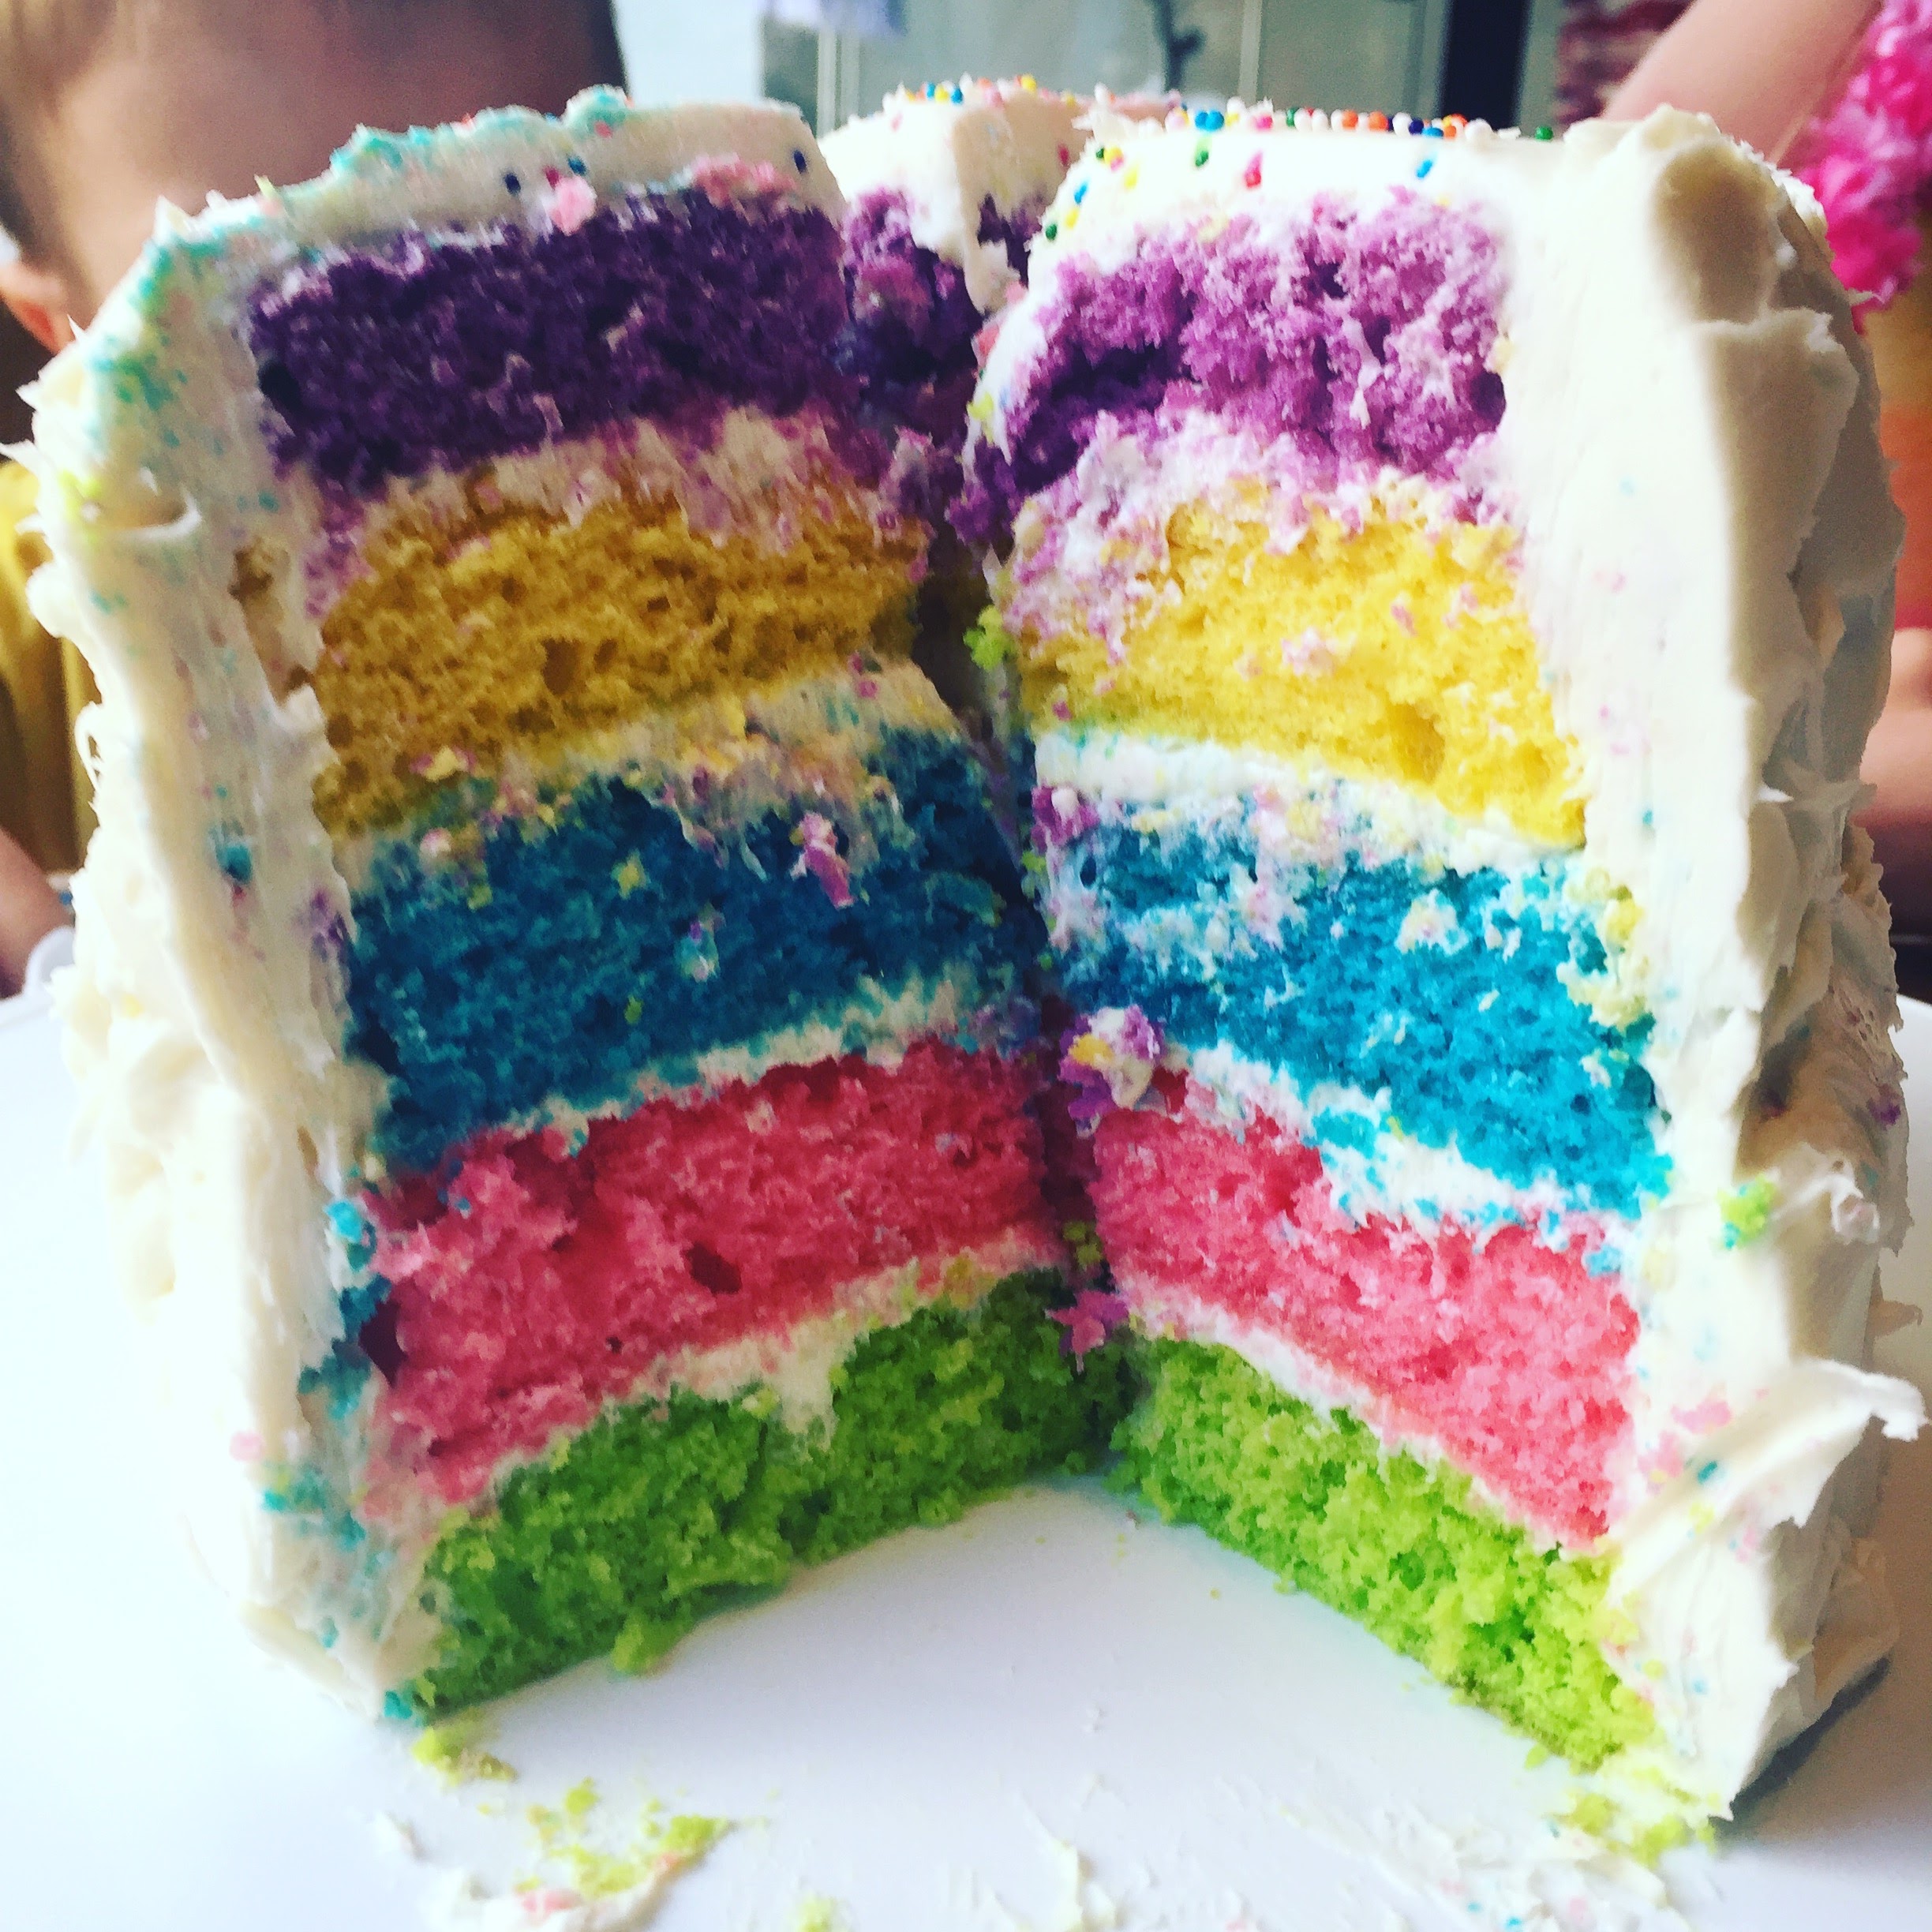
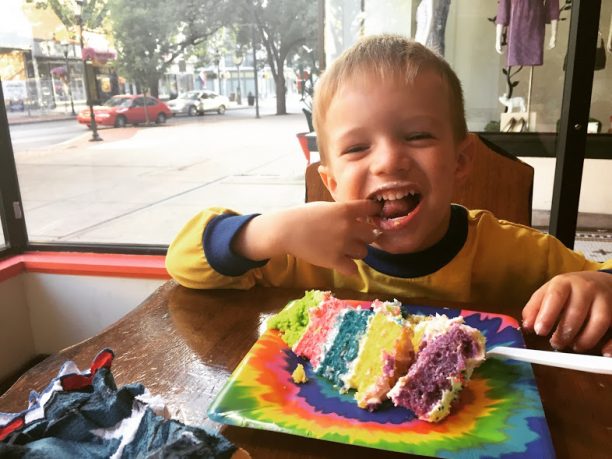
Note: it is not easy to cut thin slices of this cake because of its height, and the top-heaviness. So big slices it is!

The cake was a huge hit. And bonus: it tasted great too!
[yumprint-recipe id=’5′]


Leave a comment